Welcome to IfcGref! This guide will help you navigate and use the tool effectively to upload, georeference, and visualize IFC files.
This Flask-based tool, accessible at provides a comprehensive solution for designers, engineers, and software developers for georeferencing. IfcGref supports georeferencing operations starting from IFC 4, ensuring backward compatibility with earlier versions. The tool utilizes IfcMapConversion, incorporating attributes like SourceCRS, TargetCRS, and other key parameters to enable accurate coordinate transformations. This guide will walk you through each step of the process.
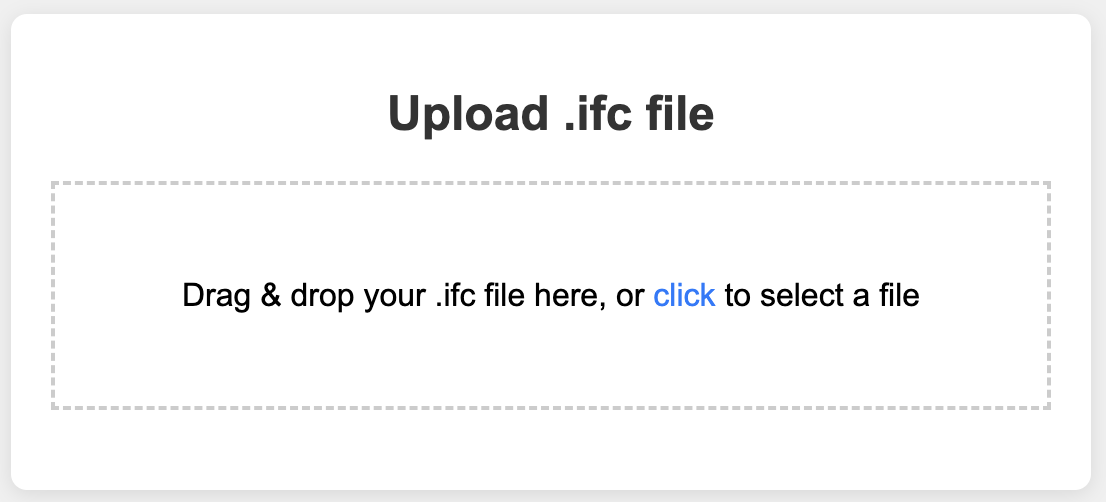
1. Navigate to the Upload Page
Go to the home page of IfcGref where you will see the option to upload an IFC file.
2. Upload Your File
Drag and drop your `.ifc` file into the designated area or click on the upload area. Once the file is selected, it will automatically start uploading.
3. Wait for the Upload to Complete
Once the upload is successful, you will be redirected to the CRS conversion page.
1. Enter the EPSG Code
On the CRS Conversion page, enter the EPSG code for the target CRS into the input field. EPSG codes are standard codes used to identify specific coordinate systems. IfcGref currently supports only Projected CRSs for the target.
Drag and drop your `.ifc` file into the designated area or click on the upload area. Once the file is selected, it will automatically start uploading.
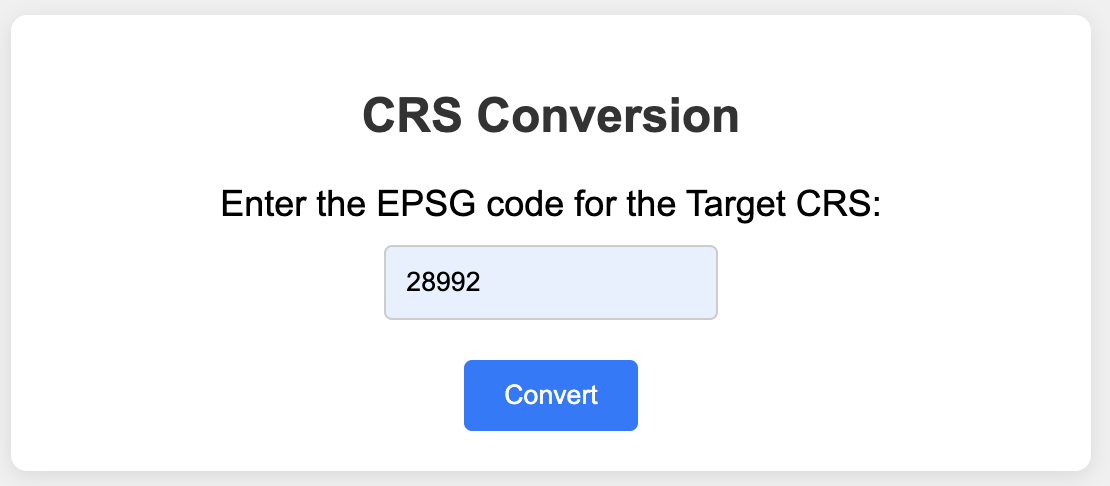
2. Start the Conversion
Click the "Convert" button to set the EPSG code. You will be taken to a different page that shows BIM and geographical information exiting in the IFC.
In this step, you need to select how to georeference your IFC file and add survey points if necessary. The following options are available:

In this option your IFC file wil be georeferenced based on the geo information that is already existing in the file such as longtitude, latitude, and reference elevation. By choosing this option, it is assumed that the model is scaled based on unit conversion between source and target CRS and rotation is derived from TrueNorth direction (if availalble)

While exisitng information can compute translation values in IFC files, using additional survey points allows for the calculation of rotation and scale, improving accuracy. The rotation angle can be inferred from the True North direction in BIM models, but discrepancies with the Geographic Coordinate System (GCS) and Projected Coordinate System (PCS) may occur due to map distortions. Therefore, it is advisable to use multiple survey points. The scale factor requires at least two georeferenced points and cannot be determined from the BIM model alone. More surveyed points enhance the accuracy and thoroughness of optimizing conversion values, leading to increased accuracy.

In cases that the existing information is unreliable or the user chooses not to use it, this option to ignores the current data and georeference solely based on the added surveyed points and their relative coordinates in BIM. This allows for a fresh and accurate georeferencing process using only the newly provided survey points.
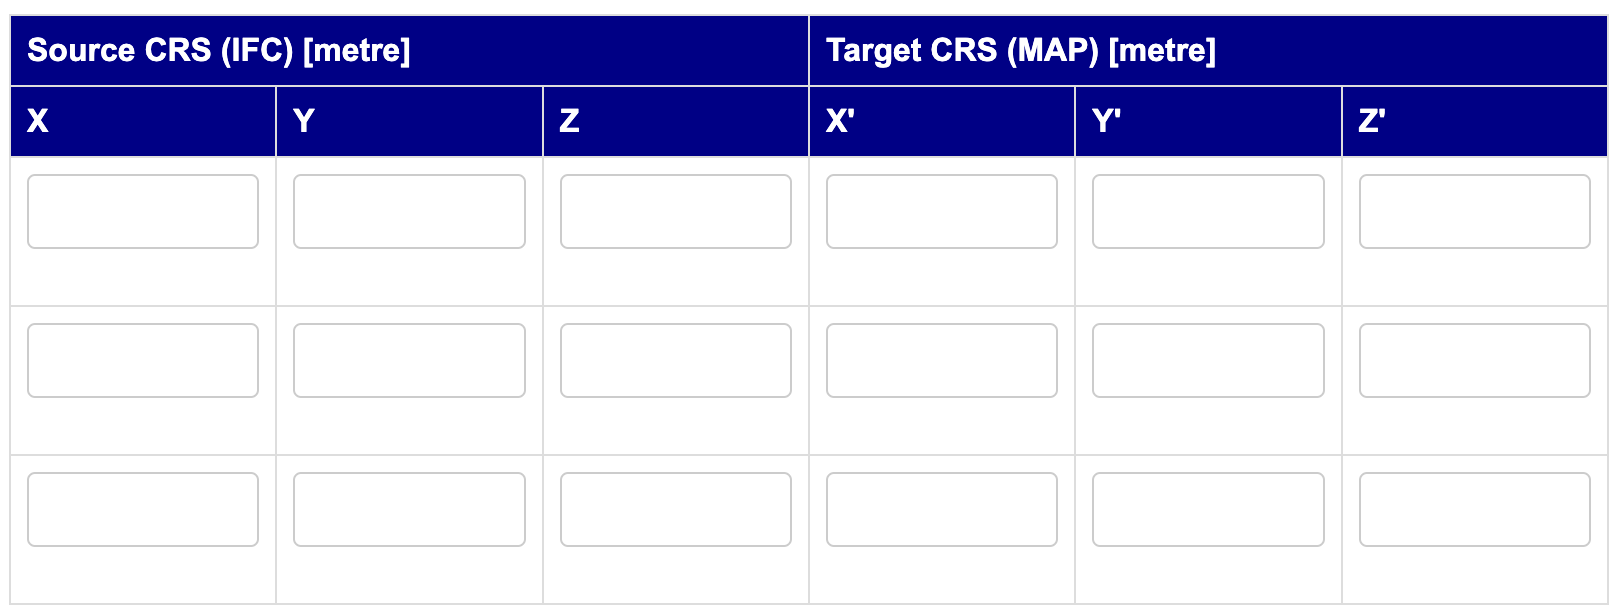
1. View Conversion Results
After the calculation is complete, you will be redirected to the results page. The page will display the georeferencing data in a table format.
2. Check for Errors
If any errors occurred during the conversion, they will be displayed on this page.
1. Visualize Data on Map
On the results page, click the "Show on Map" button. You will be redirected to a map view where the converted data is visualized.
2. Interact with the Map
Use the map controls to zoom and pan to inspect the converted data. The model will be located based on the georeferencing values. Note that the elevation of BIM models at the local zero level will match the map’s base location.
If the conversion is successful, you will see a "Download" button on the results page. Click the button to download the converted IFC file to your device. "_georeferenced" will be appended to the original file name to ensure it is distinct and easily searchable.
If the uploaded IFC file is georeferenced (IfcMapConversion is present), IfcMapConversion and IfcProjectedCRS values will be displayed. You can visualize the IFC file on the map by clicking the "Show on Map" button.
If you encounter any issues while using IfcGref, here are some common problems and their solutions:
File Upload Errors
Ensure the file format is `.ifc`. Check your internet connection. If there is no progress after a while, try reloading the page and upload the file again.
Conversion Errors
Ensure EPSG code corresponds to a Projected CRS. Review the error message for specific details and address any issues noted.
Visualization Issues
Ensure your browser connects to internet for displaying maps. Refresh the page if the map does not load properly.
For further assistance, please contact S.Hakim@tudelft.nl or visit our web page.
Thank you for using IfcGref! We hope this guide has helped you understand how to use the tool effectively. If you have any feedback or suggestions, feel free to reach out to us.

Back to upload page